
It was a lovely Tuesday at the office after sipping some Earl Grey Hemo received a phone call from the his manager.
Manager: Hey Hemo. I have a task for you for today. We have renewed our wildcard certificate and I need to you generate a certificate a new Certificate that requires a private key as well.
Hemo: Alright Mr. Manager. Let me see what I can do.
Manager: Before you proceed I have a small challege for you. I want you to perform this task using OpenSSL on a Windows environment.
Hemo: Challenge Accepted.
The phone call ended with the words “Challenge Accepted”. The challenge in this task is OpenSSL does not release any binaries for Windows. System administrators have to compile their own copy of OpenSSL to use it on Windows. This is somewhat hectic for windows administrator. Thus, we will cover how to generate and private key and a CSR to be used with CA to generate a public key. So, to perform this task we need the following:
…CSR?! …Private Key?! …Public Key?!
One of the requirements to have a secure connection between two devices is to use symmetric encryption. Asymmetric encryption is used by TLS to secure web traffic. Asymmetric encryption is based on Key theory. The key theory says to encrypt any traffic you have to have two keys. A public key that is shared with everyone and is used to encrypt the content. On the other side, there is a private key that MUST NOT be shared with anyone and is used to decrypt content that was encrypted with the public key. The image below demonstrates the process.

CSR stands for Certificate Signing Request and it is a request to ask “a Key maker” to make a public key that works with everyone. The technical name for the key maker is Certificate Authority known as CA for short. There are well known Certificate Authority like Let’s Encrypt and Digicert.
Let’s do this
Installing Git for Windows
One of the issues with using OpenSSL on Windows environments that it does not release any official binaries for windows. There are some unofficial builds but they are unofficial builds and could be insecure. However, Git for windows comes with a precompiled copy of OpenSSL that is usually up to date. The use of a new version can help to prevent security vulnerabilities like Heartbleed.
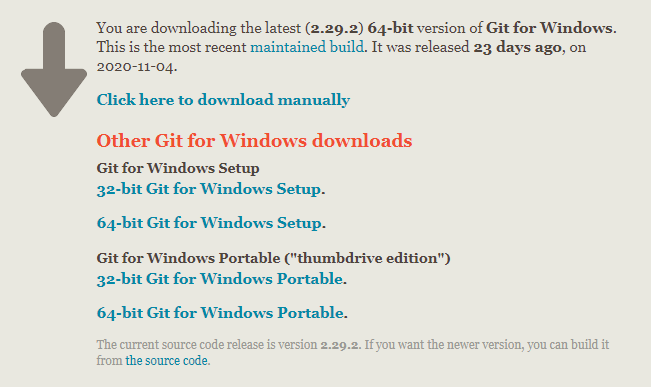
First, we need to download Git for Windows from the link here. Then the appropriate version for your Device. As a rule of thumb, always select 64-bit for Windows Setup as most devices support this version if you are not sure which version to pick.
We are interested in getting OpenSSL more than configuring Git. Thus, we keep the setting on defaults for most parts.
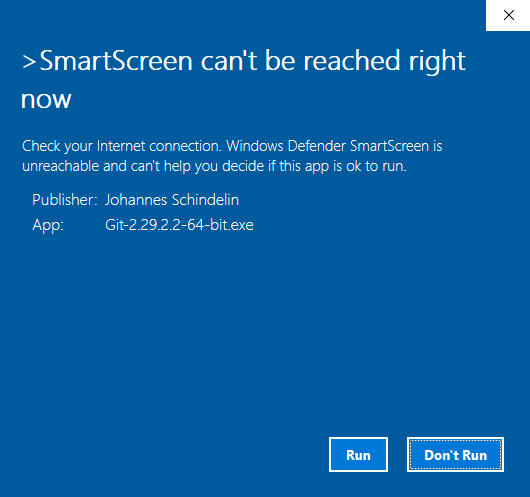
In some cases you might get the below windows. Click on Run to Proceed.
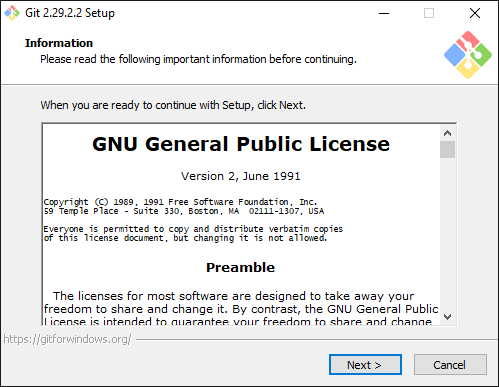
Read if the EULA is you want and then click on Next > (I don’t read them)
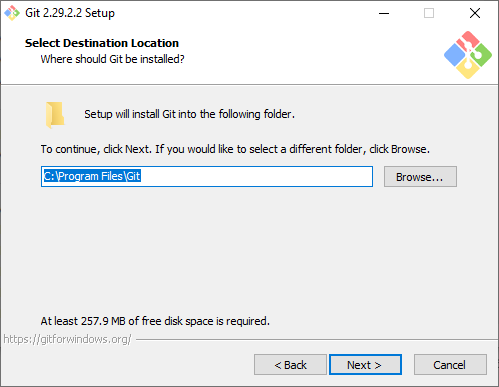
Select the path you want to install Git for Windows. keep in mind this path as we will need it later. We will keep it on default and press Next >. Please note if the account is not an administrator account. The default installation path will be under C:\Users\
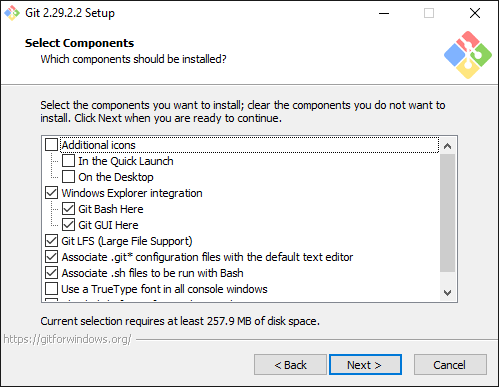
In this step, we select components to install. The default options contain OpenSSL. Thus, click on Next > and proceed to the next step.
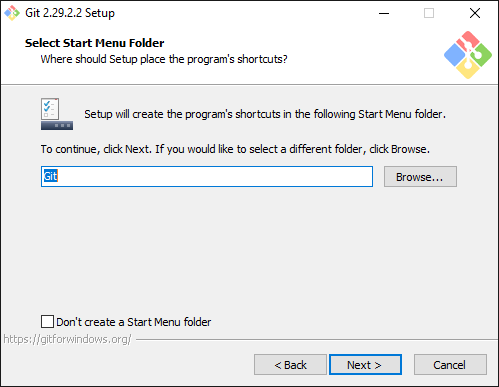
Keep the defaults and click on Next > and proceed.
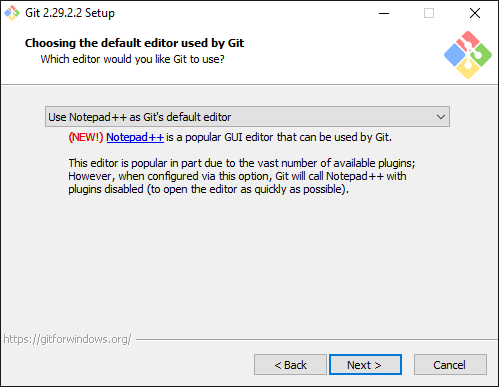
In this this we choose the associated editor with Git for Windows. You can change it from the default to your proffered editor. Then, click on Next > and proceed.
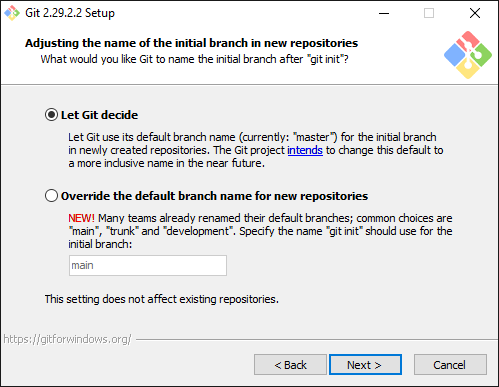
Nothing to change here. Proceed by clicking Next >
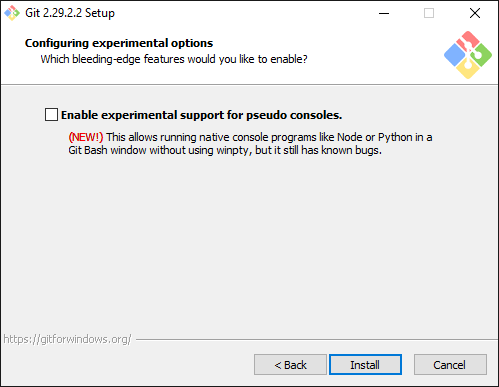
Keep the rest of the setting on default until you reach the window in the below image. Start installation by clicking on Cancel…. Just kidding. Click on Install to start the installation.
By doing this we have finished git for Windows installation.
Running OpenSSL
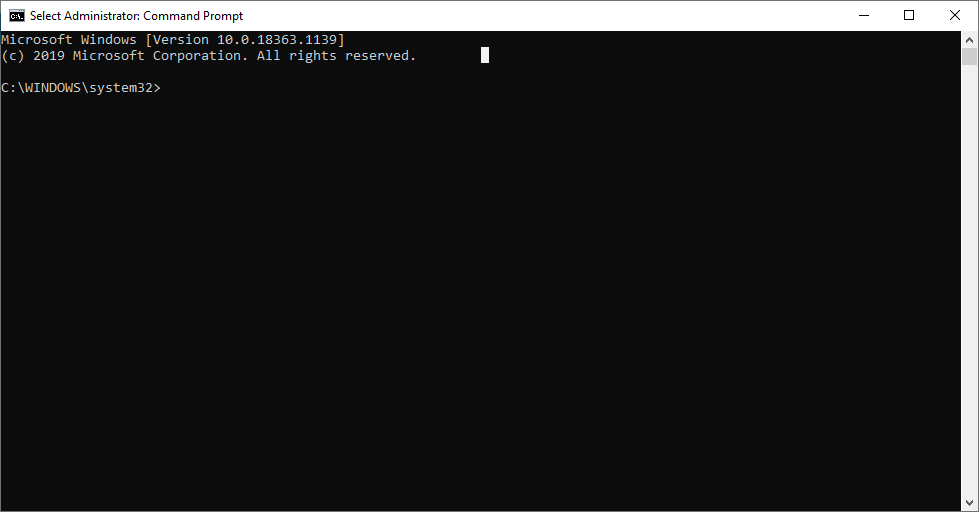
To use OpenSSL you need to open Command Prompt and run it as Administrator. If the command prompt in administrator mode is successfully started. The below output as in the below image is visible.
Then in the command we switch from command prompt default path to “C:\Program Files\Git\usr\bin” using the below command.
" CD C:\Program Files\Git\usr\bin"
Then we have run openssl.exe to be able to generate our CSR. To the openssl.exe we use the below command.
openssl.exe
Private Key Generation
After executing openssl.exe the first step to take is to generate a private key. To generate a private key run the following command.
genrsa -out yourdomain.key 2048
The generated will be under the same path of openssl.exe. If you kept the setting on default the path will be C:\ProgramFile\Git\usr\bin
If the command was successfully executed then you should get an output similar the image below.

The second step is generating the CSR. The CSR is generated using the following command
req -new -key supersecretwebsite.key -out supersecretwebsite.csr -subj "/C=BH/O=Hemotipstech/OU=IT/CN=supersecretwebsite.com"
CSR Generation
There are a few things that need to be changed when you run the command in your environment. First, supersecretwebsite.key should be replaced with the private key you have generated in the previous step. Second, the CN which stands for Canonical Name should change into your domain. If your domain is mydomain.com then CN=supersecretwebsite.com should be replaced with CN=mydomain.com. If the command was run successfully, no output is expected. However, a file titled supersecretwebsite.csr will be generated in the OpenSSL directory.
Public Key generation
Unfortunately, this step is different from a CA or another. Thus, it is not possible to discuss it here. You can find below step on generating public certificates using the following popular CAs:
Hemo’s Take
There are multiple ways to generate certificates and what is shown here is just one way to do it. Thus, don’t be afraid If you have found another method or were told to use another method. In the end, remember to use HTTPS with a valid certificate over HTTP all the time.
One more point, this tutorial is inspired by a tutorial published by digicert for linux. It was modified to for use on Windows enviromments. The original tutorial can be found here.