Task of the day: Move a file using robocopy

A few days ago, I observed something is wrong in the workflow of a unit in a different department. Their workflow requires retrieving a video through FTP and then moving the files to another folder to be transcoded. The process of moving files from a folder to another is currently done manually. This method is not efficient nor proper.

 Problem

There are some issues with their workflow. First, The unit has to perform the process manually, which is a distractive subtask for them. Moreover, the unit does not have any log for the process. Lastly, the files do not have specific arrival times.

The solution: Robocopy


Screenshot of Robocopy script
Robocopy Syntax


A file replication solution solves The unit’s issue. There are many solutions that can be used, but for them I chose Robocopy.

According to Wikipedia, it a command line files and/or folder files replication developed by Microsoft. It is a replacement for Xcopy and it has additional options.  Robocopy allows copying, moving files and folders inside Microsoft Environment. Also, it allows to create a list of files moved or copied and when.

Below, the Robocopy syntax used to fix this issue.


 robocopy C:\Source C:\Destination *.* 


The upper syntax will just copy all files in the source folder to the destination folder. However, the syntax does not keep a log of all copied files. Robocopy does provide a method to keep a log of all copied files. The below syntax shows how to do so.

 robocopy /log+:"C:\Logs\logs.txt" C:\Source C:\Destination *.* 

/log lets the solution save the operation logs into a certain file. In this example, robocopy saves log file in logs.text appended. It is important to monitor and log every service because it allows system administrations know more about the service when it fails to work properly.

Hemo’s Take

There are many ways to solve this problem. However, I chose this approach because I find easy to understand and implement. Moreover, Robocopy can be used as a part of your backup Strategy.


Task of the day: Install CentOS

Logo of CentOS
CentOS Logo

Somewhere on earth in an IT department in a company there is a happy and excited junior system administrator at work. The junior is excited and happy because a brand-new server just arrived. Unfortunately, the happiness and excitement didn’t last long after knowing that the server came without OS as requested. What made things worse that our green junior was tasked to install CentOS onthis server with graphical interface.

In this tutorial, you will cover the process of installing CentOS, so the friend of our friend will not have a mini panic attack at work.


Pre-installation notes:

There are some things should be take into considerations before doing the installation process. First, make sure the hardware meets the minimum requirements of CentOS. Second, make sure the server is configured that it reads from the boot disc or PXE server. Lastly, you need a mouse and a keyboard to proceed in the installation.

Let’s install CentOS:

From main menu choose “Install CentOS 7” and wait for the next image


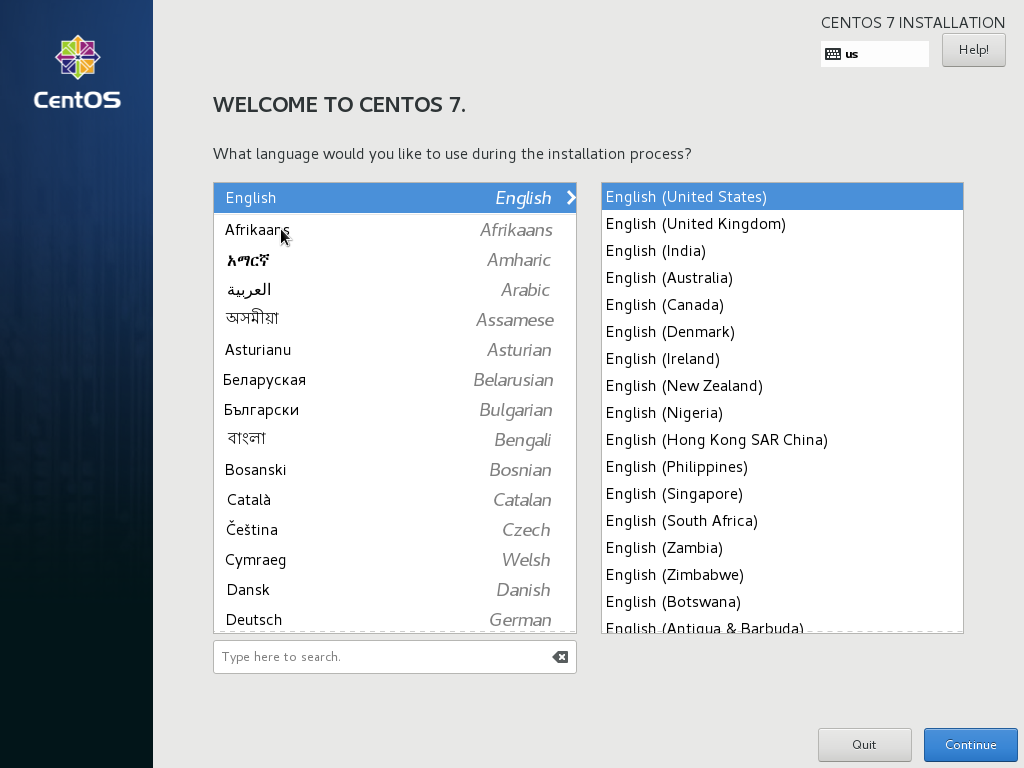
Select the language of the operating system. Remember, this is not the keyboard layout. Press Next to proceed.

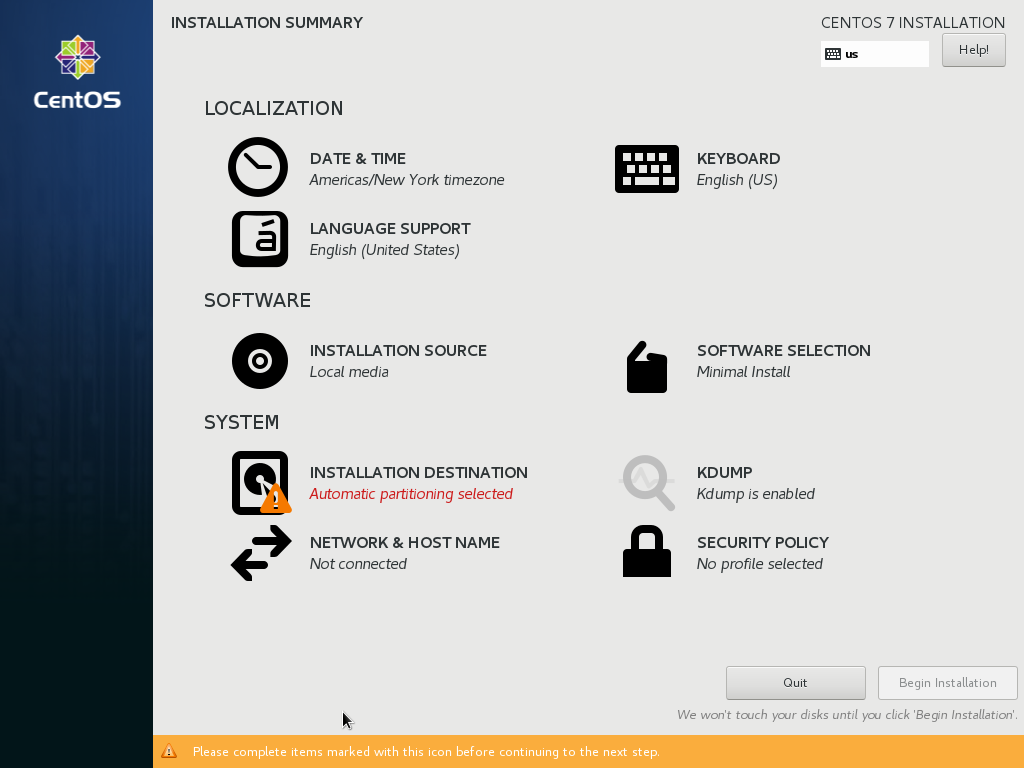
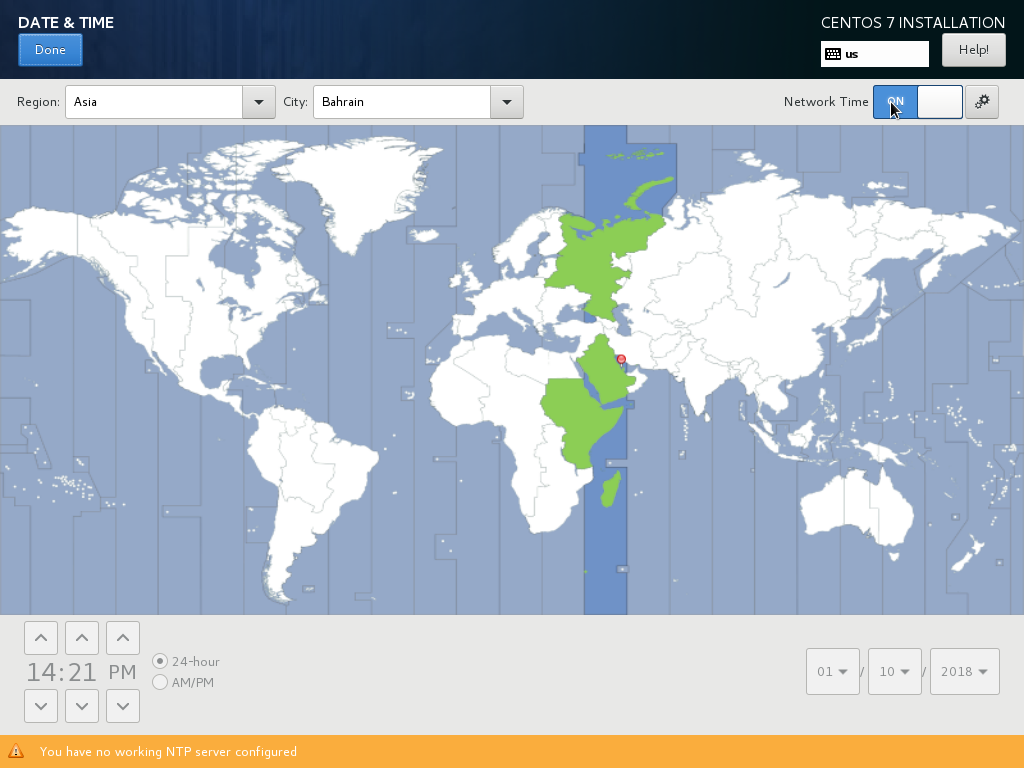
In this windows you will meet Installation Summary where you will configure Time and Date, Installation Destination, Network and Host Name and Software Selection. You will start with Date and Time, thus click on it.

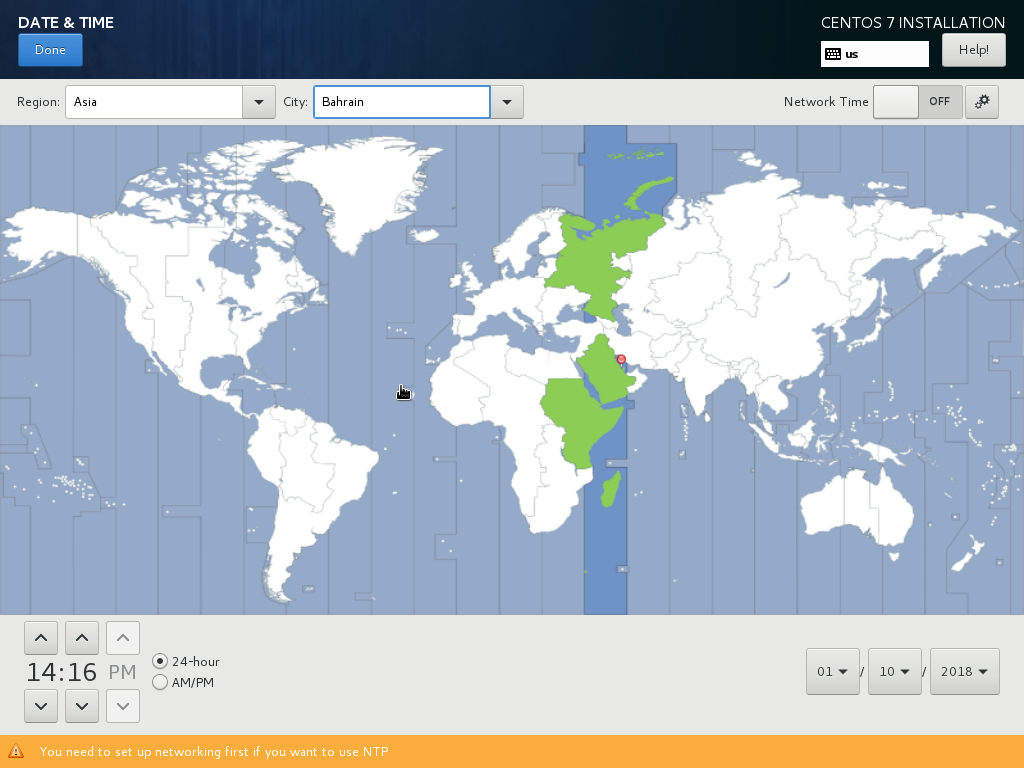
Next, select your city and timezone correctly. Do you not worry about network as you will fix it in a later stage. Press Done to go back to Installation Summary window.

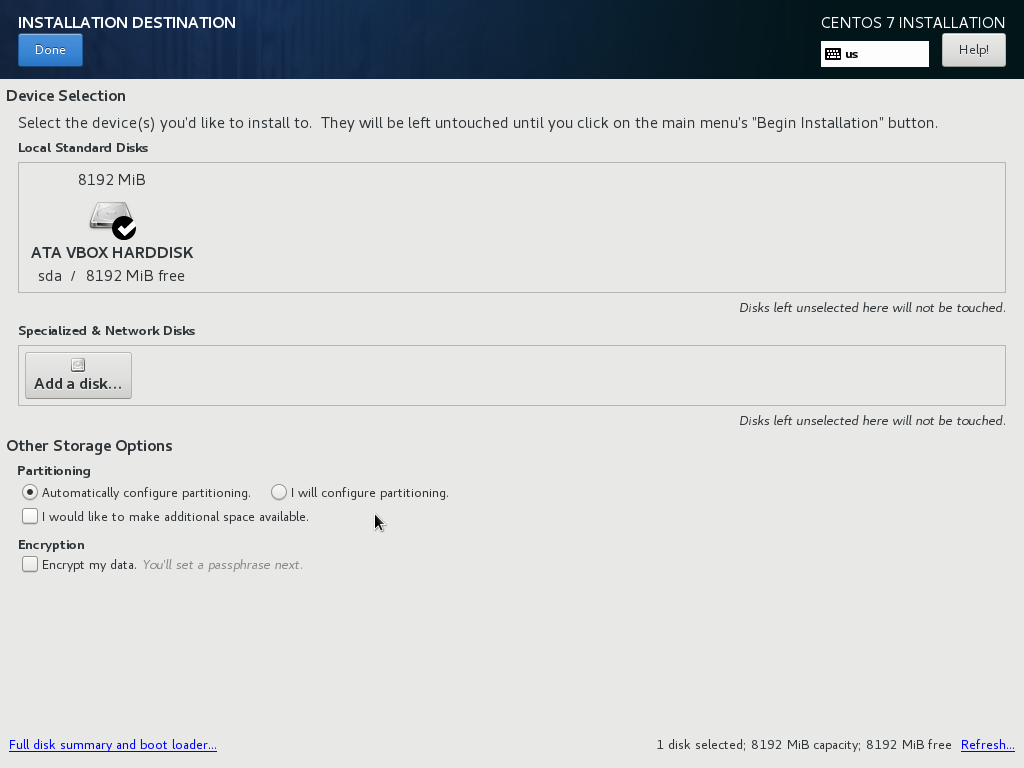
In Installation Summary window click Installation Destination.

Our senior told us that he needs a single partition in a single drive. As a result, there is nothing to be done here. So,  press Done.

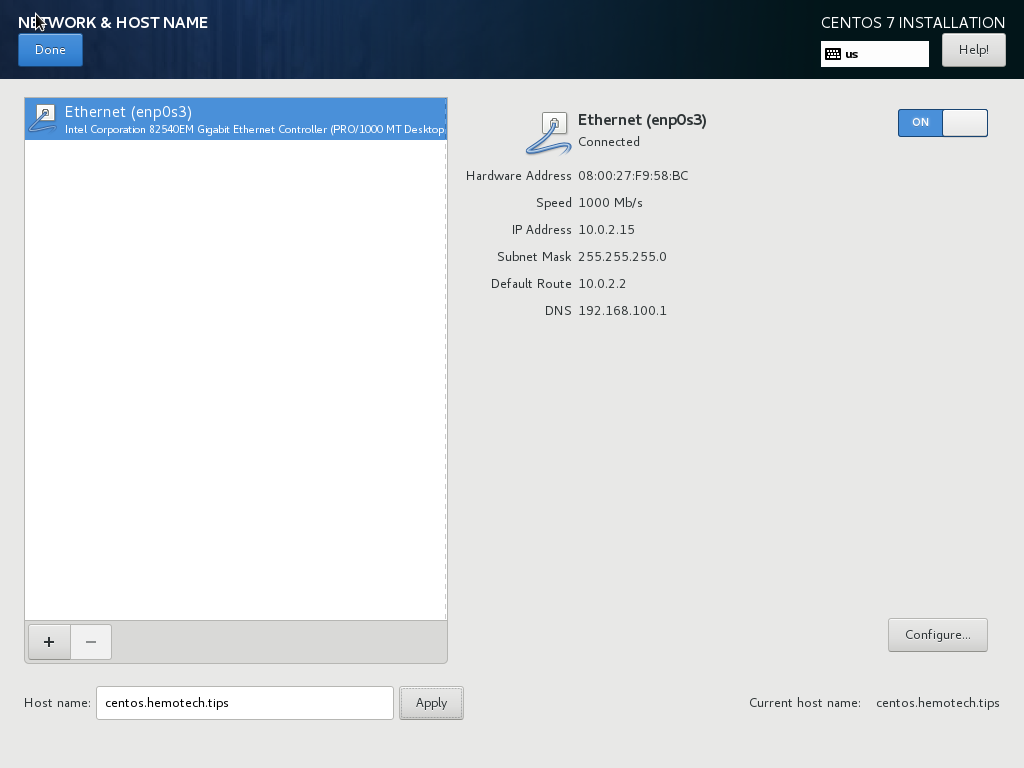
Next,  configure Network and Host Name, so click on it.

In this window there are two main task to be done. First, you need to enable the network port by clicking On to turn it on and get an IP address from a DHCP server. Second, you need to give our server a proper host name. I named it “centos.hemotech.tips”. Finally, click on Done to go back to Installation Summary window.

Before proceeding to the next step,  go back to Date and Time and  enable Network Time and then  click Done.

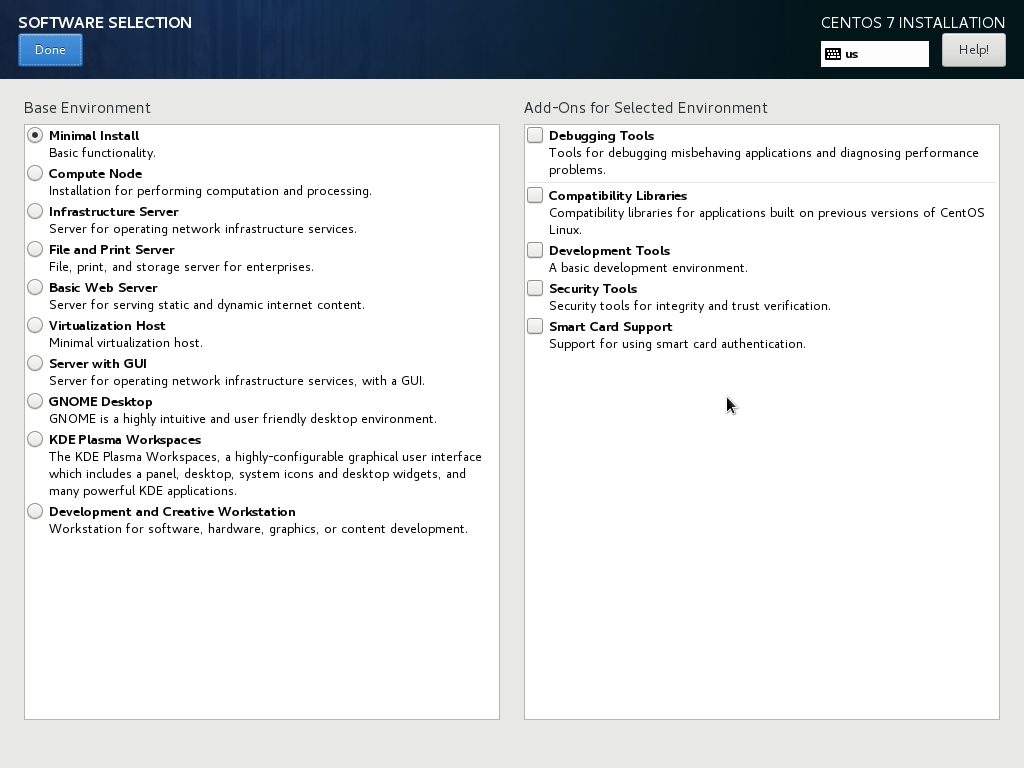
Lastly,  configure the most critical step in the Installation Summary window. The step is Software Selection, so in the Installation Summary click on it.

By default, CentOS come in the Minimal Install option. Minimal Install option means that it will be installed without GUI and the minimal application. To install GNOME, click on GNOME Desktop and selection the same option as in the below image. Then click Done.

In the Installation Summary click Begin Installation.

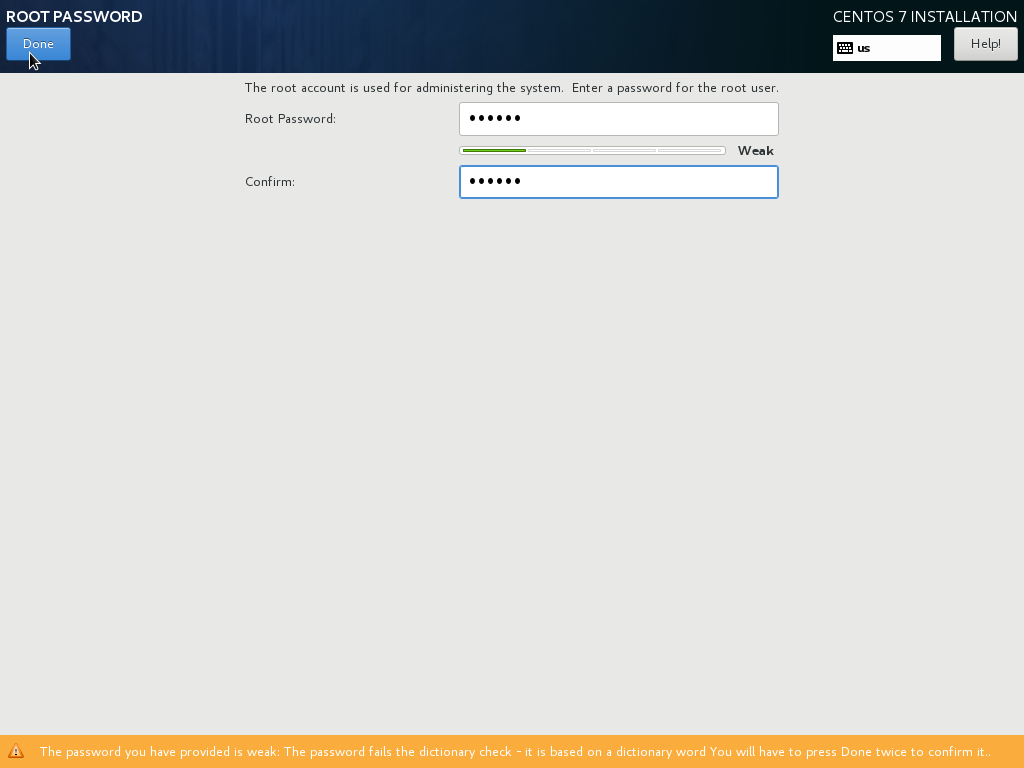
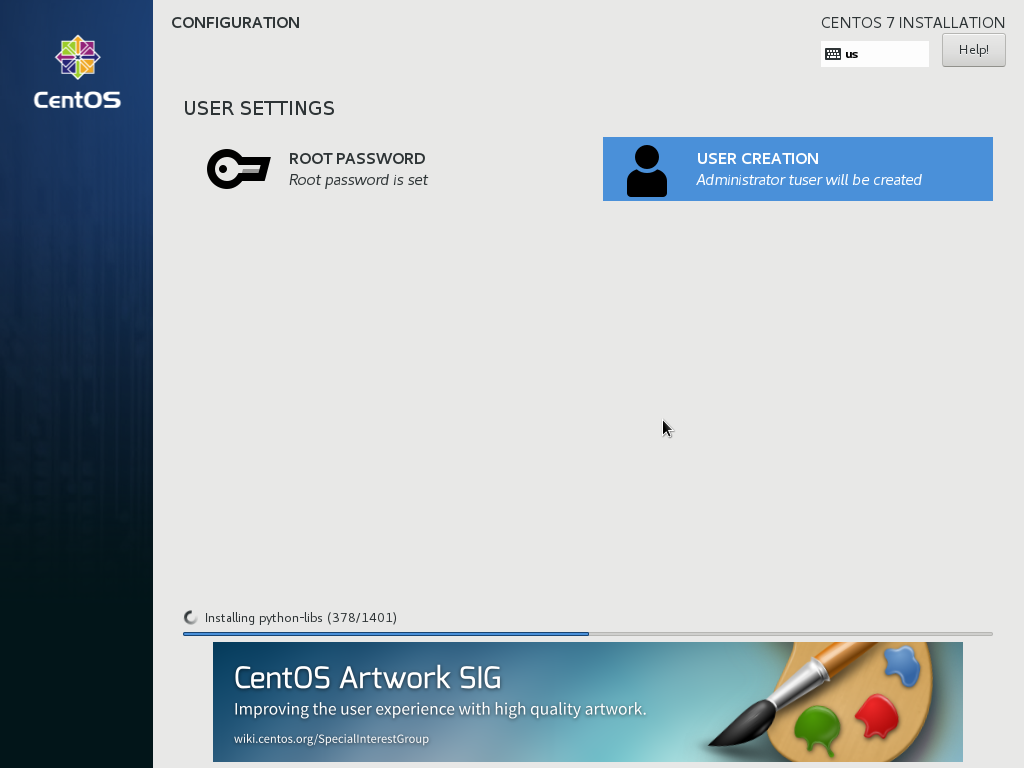
In this step, please insert the root access password. You shouldn’t add a weak password in a production server, but if you choose a weak password as I did, you need to press Done twice.

Next, you will create another administrative account. You should not use root account at any time.

Post Installation step. We are almost there 🙂

Reboot the system when prompted.

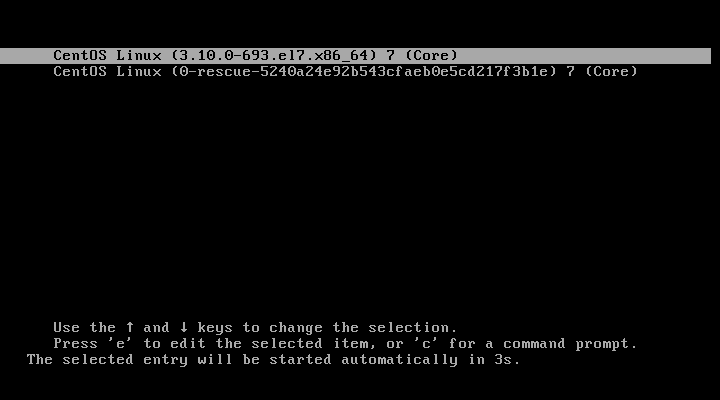
After the reboot the you will this list. Make sure you pick the one that does not have the work rescue.

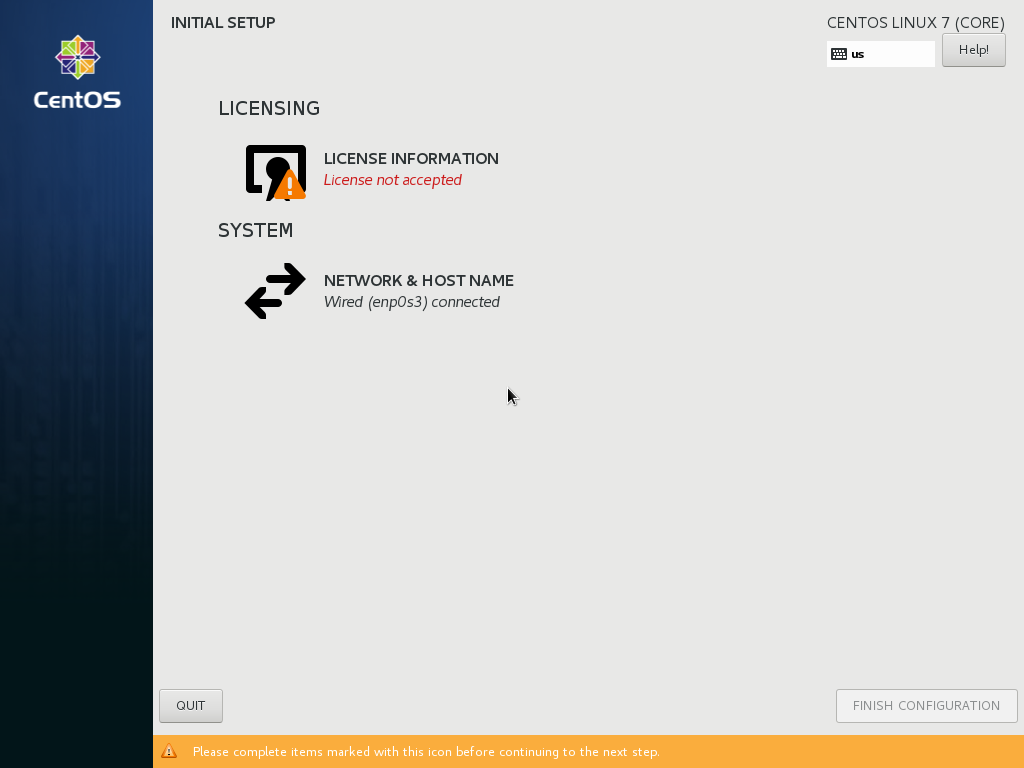
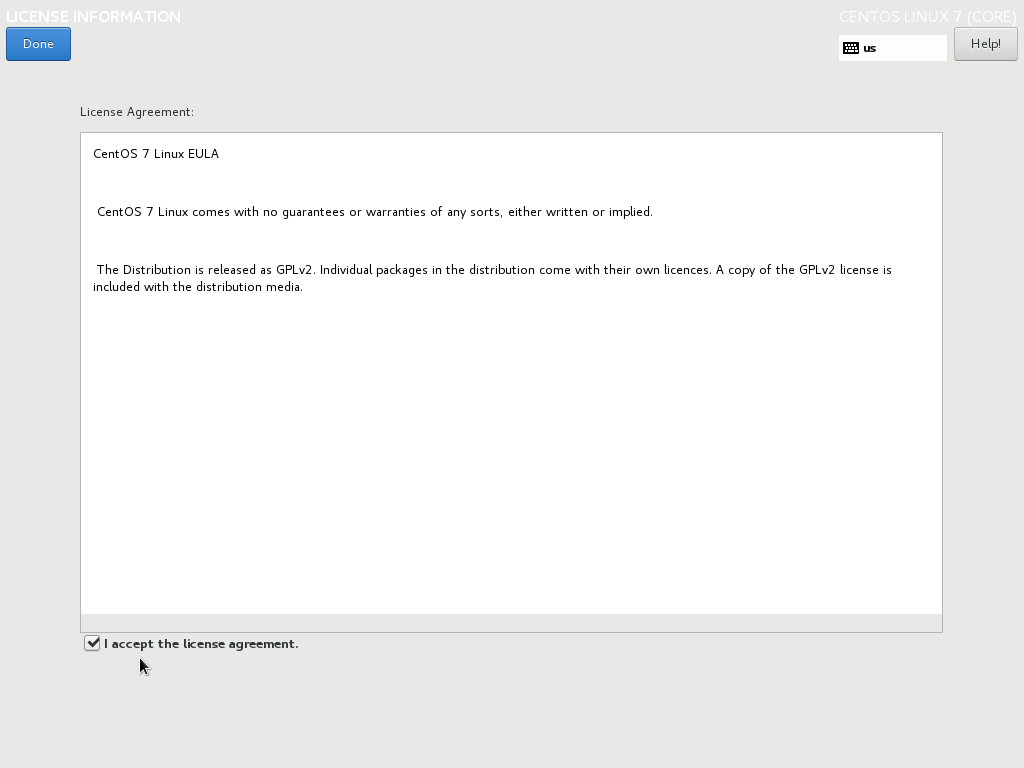
In the License Information window, check the check box and click Done.

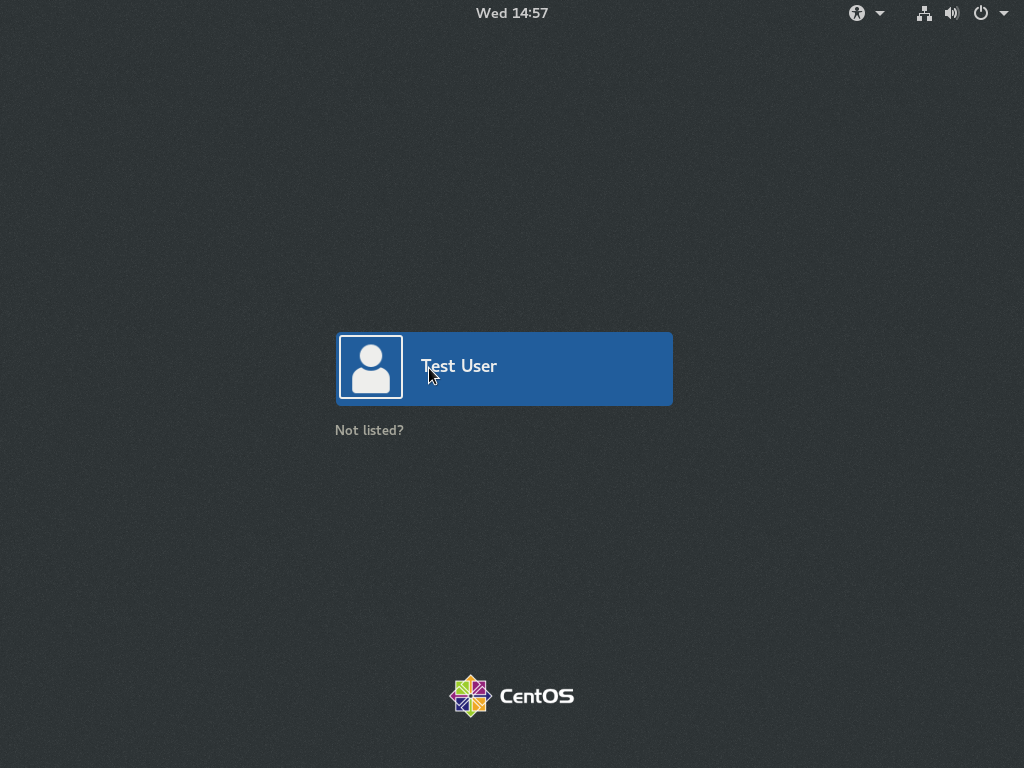
Finally, click on Finish Installation.

You do not need to change the settings here, so press Done or Skip.

You did it 🙂

Hemo’s Take:

Installing an operating requires a lot of steps, yet these steps are easy to understand and follow. Moreover, it critical for any system administrator to know how to install a Linux operating system.